🔥 Why Is IP Warmup Important?
If you’re using a new or dedicated IP for email sending, you can’t send thousands of emails at once. 🚀 Email providers monitor your IP’s reputation, and sudden bulk sending can land you in spam.
✔️ What IP Warmup Does:
✅ Improves email deliverability 📩
✅ Reduces the risk of blacklisting 🚫
✅ Builds a strong sender reputation 🏆
✅ Helps emails land in the inbox instead of spam 📬
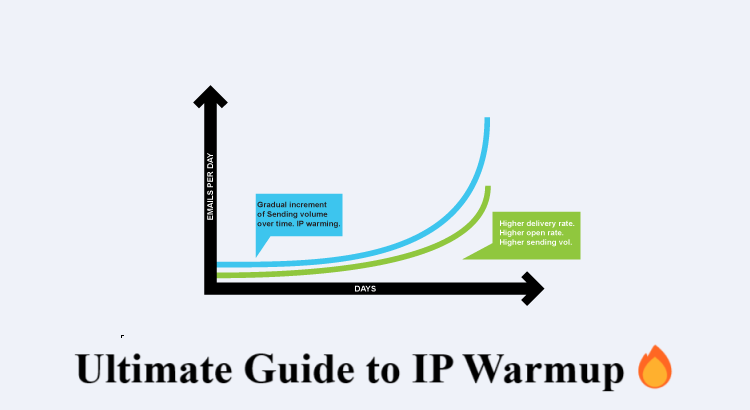
🔹 How Does IP Warmup Work?
IP warmup is a gradual process where you slowly increase the volume of emails sent from your IP. This helps email providers trust your sending habits.
✅ Best Strategy to Warm Up Your IP Address
📅 Week-by-Week IP Warmup Plan
Follow this structured warmup schedule:
| 📅 Week | 🔢 Emails Per Day | 📧 Total Emails Per Week |
|---|---|---|
| Week 1 | 100 – 500 | 3,500 |
| Week 2 | 1,000 | 7,000 |
| Week 3 | 2,000 – 3,000 | 15,000 |
| Week 4 | 5,000 | 25,000 |
| Week 5+ | Scale gradually | 50,000+ |
👉 Start small and scale up weekly to avoid spam filters.
🔹 Step-by-Step Guide to Warming Up an IP Address
🛠️ Step 1: Set Up Proper Authentication
Before sending emails, configure these essential authentication records:
✅ SPF (Sender Policy Framework) – Prevents spoofing
✅ DKIM (DomainKeys Identified Mail) – Verifies email authenticity
✅ DMARC (Domain-based Message Authentication) – Adds protection
🛠️ Step 2: Use a High-Quality Email List
Never send emails to random or purchased lists ❌. It will damage your IP reputation.
✅ Best Practices:
✔️ Send to engaged subscribers first
✔️ Remove inactive or bounced emails
✔️ Use double opt-in to verify new subscribers
🛠️ Step 3: Start with Engaged Users
Start by sending emails to your most engaged users – those who have:
✔️ Opened previous emails 📬
✔️ Clicked links 🔗
✔️ Replied or interacted 📩
This signals email providers that your emails are valuable.
🛠️ Step 4: Monitor Your Email Metrics
Track these key metrics to ensure a successful warmup process:
📊 Email Metrics to Watch:
✔️ Open Rate – Should be above 20%
✔️ Bounce Rate – Keep it below 2%
✔️ Spam Complaints – Keep it below 0.1%
👉 Use tools like Postmaster Tools by Google or MxToolbox to monitor IP reputation.
🔗 Check Your IP Reputation Here: Google Postmaster Tools
🛠️ Step 5: Gradually Increase Email Volume
🔹 Start with low volumes and slowly increase over 4-6 weeks.
🔹 Avoid sending large email spikes – it raises red flags 🚩.
🔹 Keep a consistent sending schedule.
🛠️ Step 6: Maintain a Good Sending Reputation
To keep a healthy IP reputation, follow these best practices:
✅ Avoid spam trigger words (free, win, offer)
✅ Use a dedicated sending domain
✅ Ensure proper list segmentation
✅ Monitor blacklists regularly
🔗 Check if Your IP Is Blacklisted: MXToolBox Blacklist Checker
🚀 Bonus Tips for Faster IP Warmup
🔥 Use Multiple IPs: If you need to send high volumes, split traffic across multiple IPs.
📧 Send at Consistent Times: Email providers prefer consistency – don’t send randomly.
💡 Test Emails Before Sending: Use tools like Mail Tester to check for issues.
⚡ Conclusion: Why IP Warmup is a Must!
Warming up your IP properly ensures high deliverability, avoids spam issues, and builds trust with email providers. Follow this step-by-step guide to gradually increase email volume and maintain a strong sender reputation.
💬 Have questions about IP warmup? Drop a comment below!
Suggested : How to Clean Your Email List for Amazon SES